Connecting to an Instance via SSH from the EC2 Console
Connecting to an EC2 instance directly via SSH is rarely necessary, however, the instructions below provide the required information should the need arise.
1. Log on to Amazon, and select the EC2 Dashboard.

2. Navigate to EC2 Dashboard -> Instances.

3. Select the instance that you wish to connect. Click Connect.
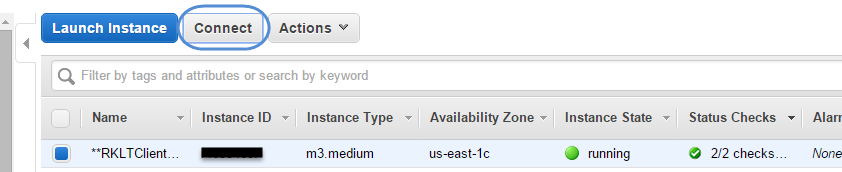
The Connect to an Instance dialog will be displayed.
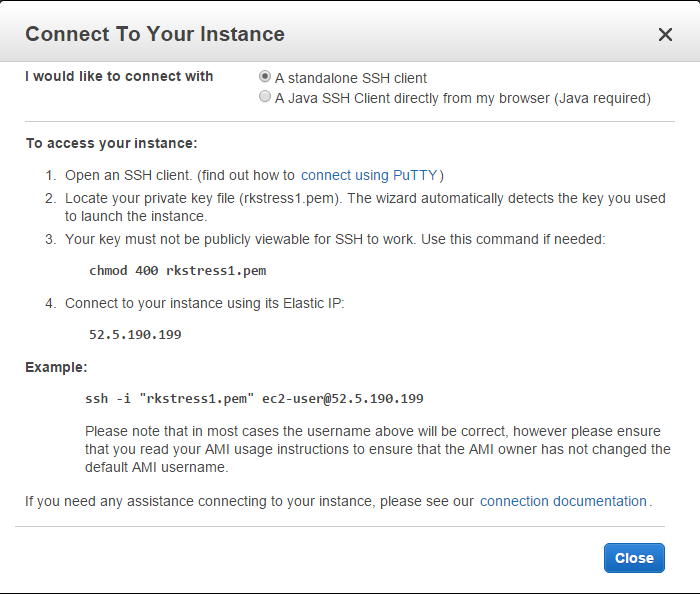
Note: You can connect from your web browser using either the Java SSH Client or as the standalone SSH client. Choose an SSH client and use the following login credentials and your private key (created earlier in the installation process and saved in your secret location).
For Browser based Java SSH Client Connection
1. Select the connection type as A Java SSH Client running directly from my browser(Java Required).
2. Enter the user name in the User Name text entry box.
3. Enter the private key path in the Private Key Path text entry box.
4. To store the key location, check the box in the Save Key Location field.
9. Click the Launch button.
Note: You can use a user name of "ec2-user". The password-only logins via SSH are disabled for added security in the cloud. You will only need the ec2-user name and password should it be required for any reason while working at the command line in Linux. Be sure to change the default "root" login ID to "ec2-user" when logging into the SoftNAS on EC2 instance.
For Standalone SSH Client Connection
Note: To use a standalone SSH client, first download and install the SSH client. Then click on A standalone SSH client in the above dialog for more detailed instructions.
Some of the Windows SSH clients are given below and for more information on installing them, click the below links.
Bitvise Tunnelier: This is a powerful SSH client with integrated SSH and SFTP for file transfers and other features. This is recommended for power SSH users.
Putty: The ubiquitous Putty client is always a good choice for SSH users.