Configuring iSCSI LUN Targets
Sharing block devices via iSCSI is a common way to make network-attached storage available. An iSCSI LUN is a logical unit of storage. In SoftNAS, the basic storage LUN is a volume that is accessed as a blockdevice. The blockdevice volumes have a mount point in the Linux /dev/zvol filesystem because they are disk block devices.
For example, a storage pool naspool1 with volume name lun01 would be named /dev/zvol/naspool1/lun01 as its mount point. These device references are links to Linux block devices used to access the volume's raw data blocks via iSCSI.
iSCSI targets are used by iSCSI initiators to establish a network connection. The target serves up the LUNs, which are collections of disk blocks accessed via the iSCSI protocol over the network. A target can offer one or more LUNs to the iSCSI clients, who initiate a connection with the iSCSI server.
For example, VMware or Windows connects to the iSCSI server and retrieves a list of available targets. Then, for each target, the list of its published LUNs are available for use.
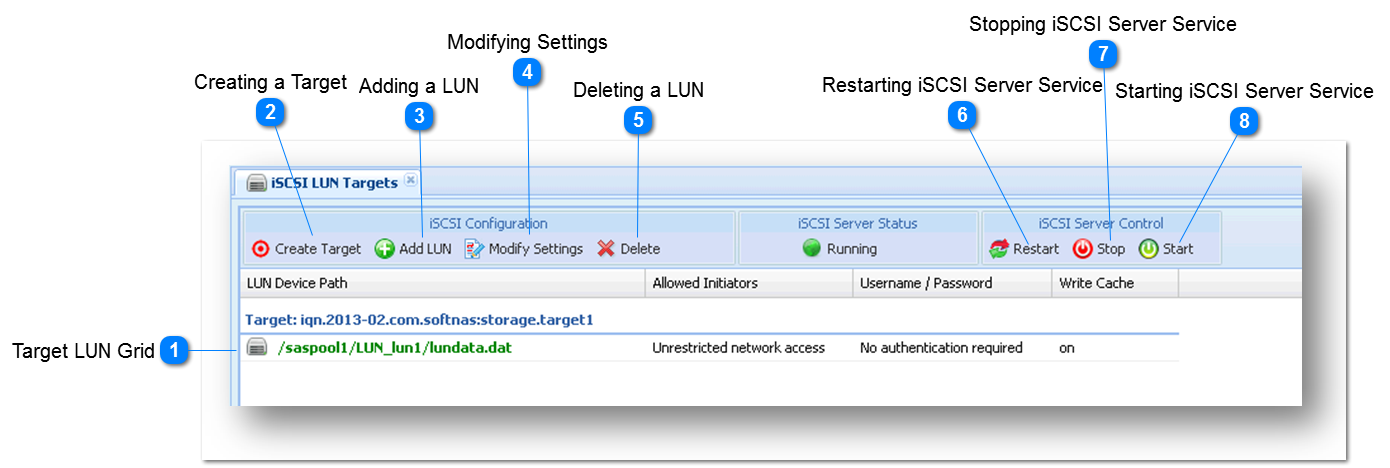
Creating a Target
Note: You can publish any number of blockdevice volumes via a single iSCSI target. However, use the Create Target button to add new targets as needed.
1. To do so, click the Create Target option in the toolbar.
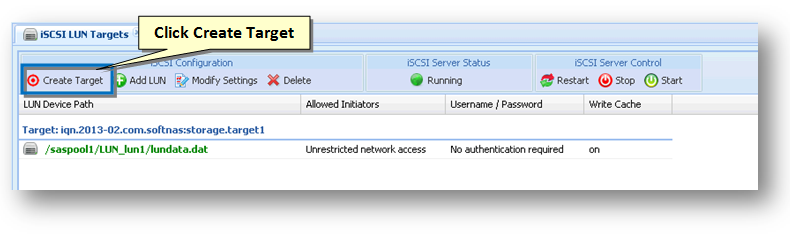
The new empty target will be appended to the list. You can add a LUN from here. For more details refer to the next section.
|
Adding a LUN
You can create one or more volumes assigned as LUNs (iSCSI logical units) for each target. To do so, simply follow the steps given below.
1. Double click the EMPTY TARGET area or click the Add LUN option in the tool bar.
The Add a LUN dialog box will be displayed.
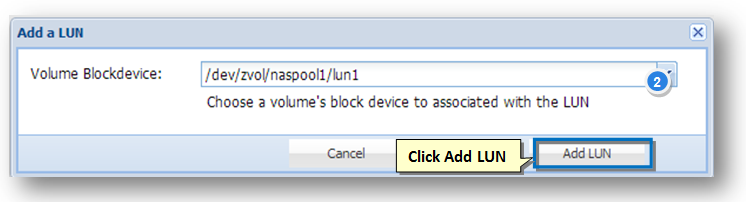
2. Select the volume's block device to associate with the LUN from the Volume Blockdevice drop down list.
3. Click the Add LUN button to link the blockdevice to the iSCSI Target as a LUN.
The LUN is created and added to the target.
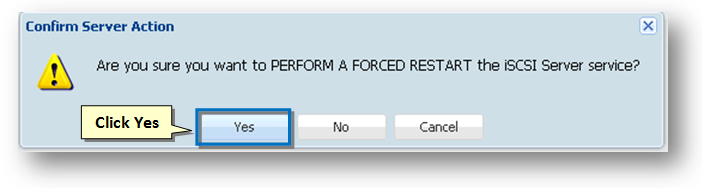
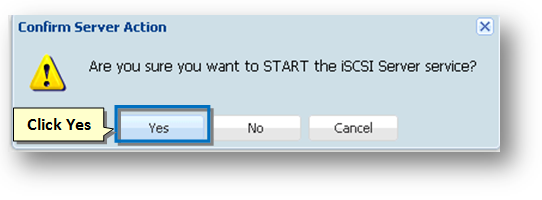
The Restart Required message box asking you to confirm the restarting of the iSCSI Server will be displayed.

4. Click the Yes button.
The iSCSI server will be restarted and you can observe that new LUN is associated with the target.
|
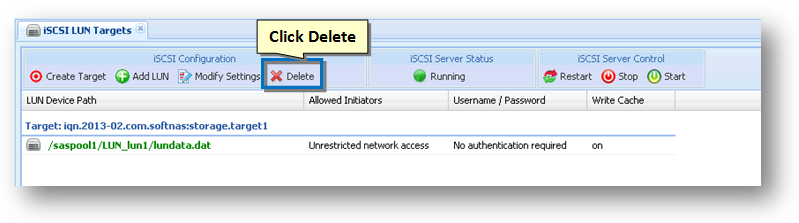
Modifying Settings
Each iSCSI target can be configured to restrict access to one or more iSCSI client IP addresses. It can also be configured to require authentication using a user name and password.
1. To do so, on the iSCSI LUN Targets panel, select the LUN target and then click the Modify Settings option in the tool bar.
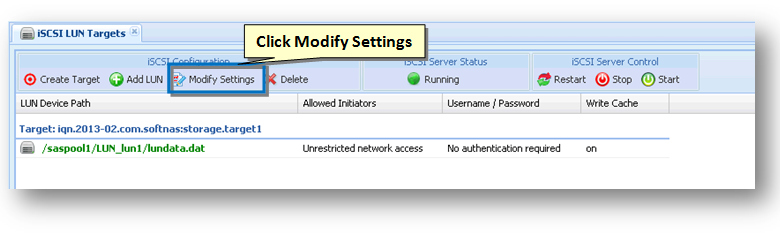
The Modify Target Settings dialog will be displayed.
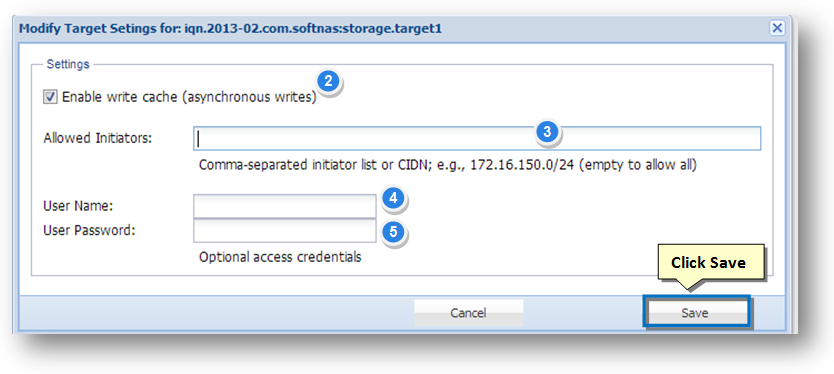
2. In the Settings section, check the box in the Enable Write Cache field. This provides the option to cache incoming iSCSI write requests for faster I/O operations. The disk block will be written to disk as time permits. Use of this option improves performance, but can cause a potential loss of data in the event of a power failure (always use a UPS with your storage server host running SoftNAS).
3. By default, targets have unrestricted access from any IP address. To restrict which iSCSI initiators are allowed to connect to the target, enter one or more comma-separated IP addresses (or DNS names, if using DNS) in the Allowed Initiators text entry box. You can also use the CIDN notation to provide a range of network addresses; e.g., 172.16.150.0/24 restricts access to iSCSI initiators in the 172.16.150.* subnet only.
4. In order to use CHAP authentication login credentials while accessing the target, enter the user name in the User Name text entry box.
5. Enter the password in the User Password text entry box.
6. Click the Save button.
Note: If you do not want to use login credentials to access target, then simply leave the User Name and User Password fields blank.
7. Once the required changes are made, click the Save button.
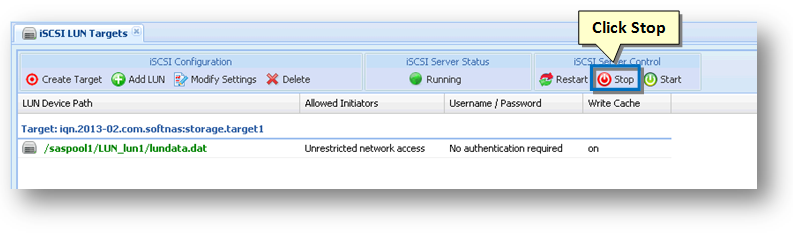
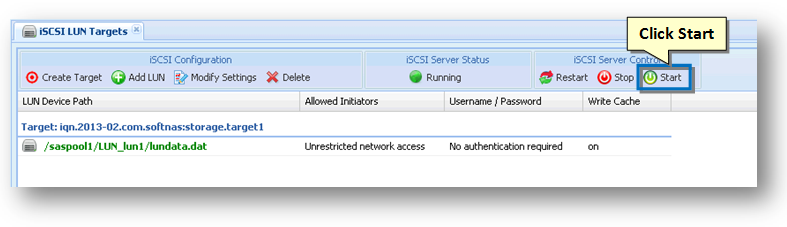
8. To enforce the changes, click the Restart button on the iSCSI LUN Targets panel.
|